
Your cart is empty, and it looks like you haven’t added anything yet.
A tooth extraction usually involves several steps and various instruments. Basically, there are two types of tooth extraction: simple (closed) and surgical (open). Simple extraction usually requires forceps and dental elevators/luxators, while surgical extraction may involve additional tools such as a scalpel, periosteal elevator, orthopedic bone file, and others. First of all, this article aims to respond to the frequently asked question, “What instruments are used for tooth extraction?”, and provide basic information on tooth extraction instruments, including their uses, selection, maintenance, and application. Secondly, the article discusses the most common mistakes when extracting a tooth.
The main instruments for tooth extraction are forceps and dental elevators/luxators. A dental extraction set typically contains a dental mirror and probe, a syringe, an elevator (straight elevator or Cryer), and forceps of various sizes depending on the type of tooth. After loosening the tooth with elevators, tooth forceps are used to extract the tooth. Surgical extractions additionally require a scalpel (#15 blade), a periosteal elevator, and other surgical instruments.
In a standard procedure of tooth extraction, the dentist explores and anaesthetizes the oral cavity and gently removes the tooth from the alveolus with the help of various instruments. For example, the dentist uses a dental mirror and probe to examine the tooth and syringe to administer anaesthesia. Then, a dental elevator (e.g., Straight elevator No. 301) or luxator is used to break the periodontal ligament and loosen the tooth in the socket. Elevators have a long history and are divided into straight, angled, and offset ones. Luxators are similar to straight elevators but have a much thinner and sharper working end to cut the periodontal ligament. When using a luxator or elevator, one end is placed against the bone, and the other one is used to gently pivot or twist the tooth to widen the alveolus. After the dentist loosens the tooth, dental forceps are used to extract it. Forceps have a beak like shape at the end of their handles to grip the tooth. The forceps are selected depending on the tooth being extracted. In most cases, tooth forceps have an American pattern, meaning that their beaks run parallel to the handles. In the case of maxillary (upper jaw) forceps, the beaks run perpendicular to the handles. During the procedure, the dentist rocks the forceps with the apical (towards the tip) pressure and removes the tooth from the alveolus. After the dentist extracts the tooth, it is necessary to curette the alveolus with a curette (e.g., a Lucas bone curette) and remove the clot to prevent infection. The dentist can also use gauze sponges to control bleeding and help the blood clot plug the alveolus.
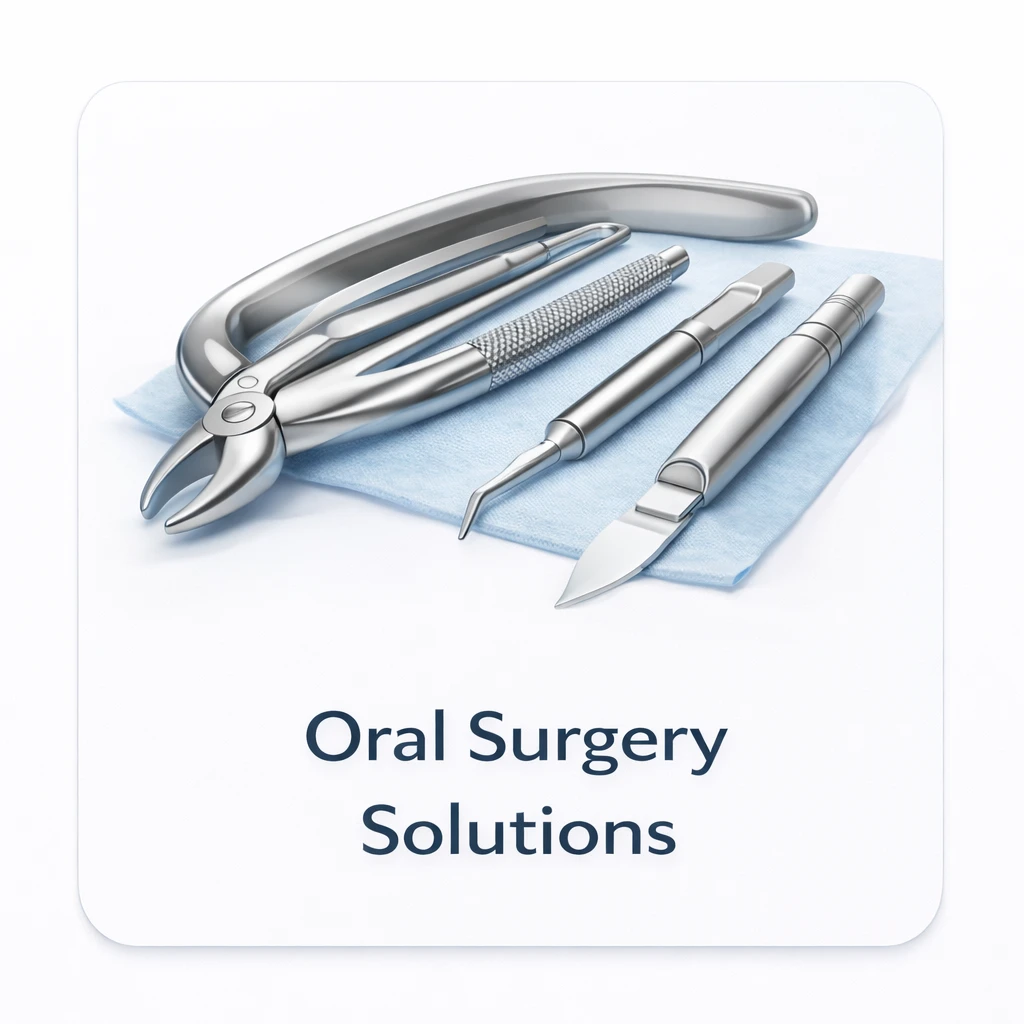
During a surgical extraction of a wisdom tooth, the dentist uses a scalpel (#15 blade) to make an incision and a periosteal elevator (e.g., Molt No.9 or West periosteal) to lift the flap of the gum. To provide a better view of the surgical site, the dentist can use a retractor (e.g., Minnesota or Austin retractor). In addition, the dentist can use various instruments to remove the impacted tooth. For example, a high speed handpiece with burs and orthopaedic bone forceps can be used to cut the bone and remove the tooth. If the dentist needs to remove some bony growths during the procedure, they can use a bone rongeur or orthopaedic bone file. Finally, a suture kit is also required to close the incision in the gum. In summary, a tooth extraction procedure requires a set of instruments, including dental forceps and elevators, a scalpel, periosteal elevator, retractor, curette, suture kit, and others.
There are several types of instruments used during the procedure of tooth extraction. Most of them can be grouped into the following categories:
• Dental Forceps
• Dental Elevators and Luxators
• Periosteal Elevators
• Scalpel
• Retractors
• Suction and Hemostasis Instruments
• Socket Instruments
• Suturing Instruments
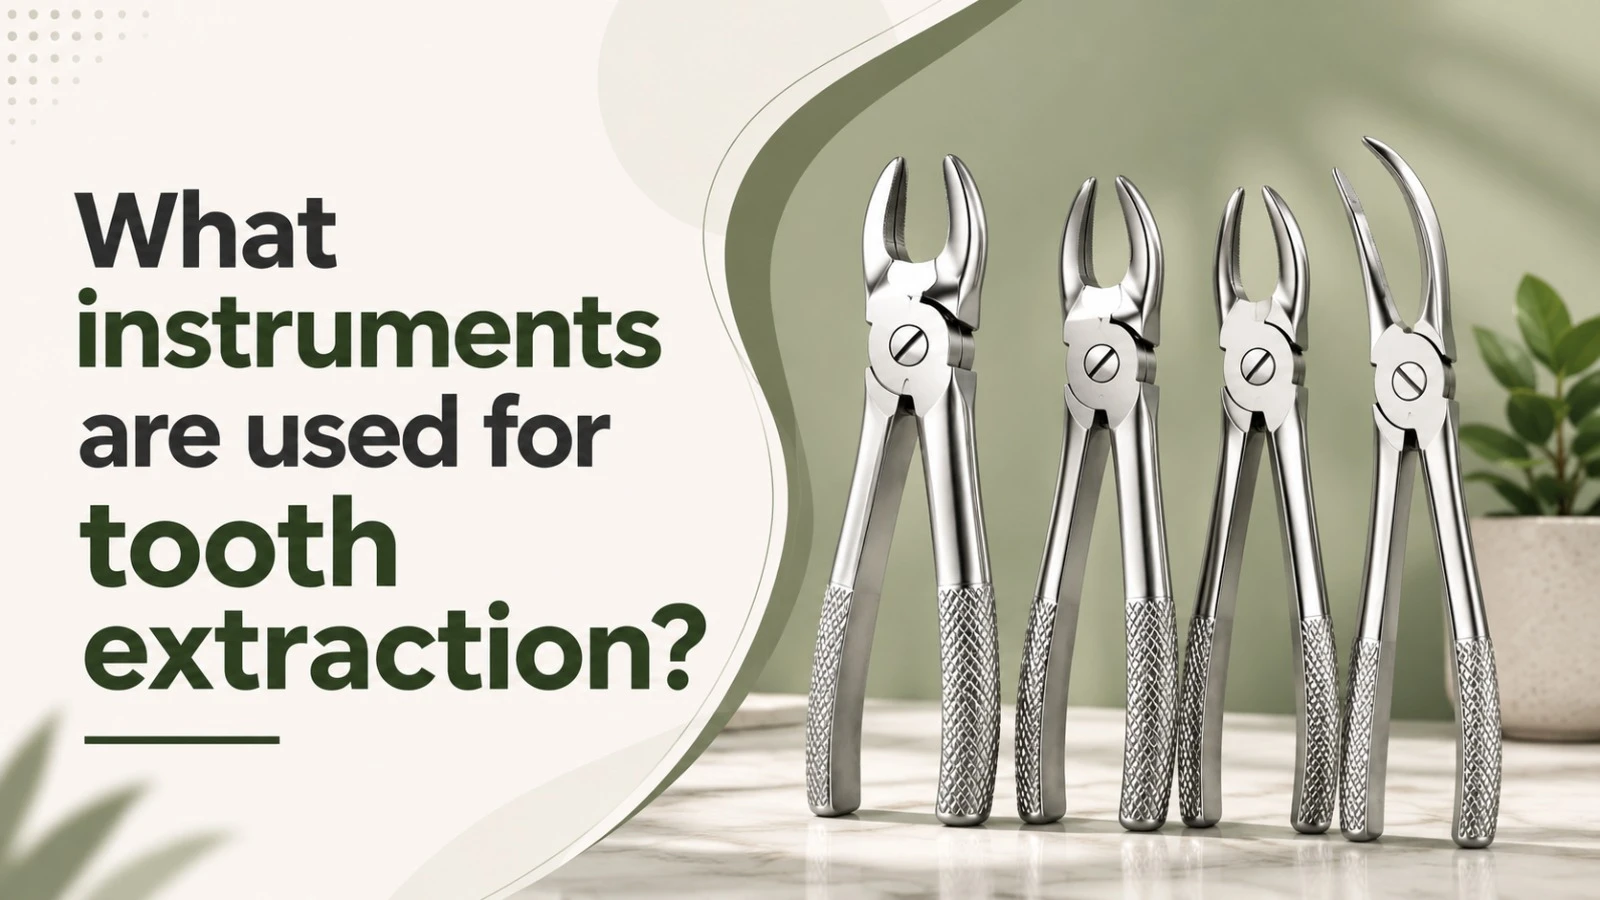
Dental forceps are commonly used to extract a tooth. There are many types and sizes of forceps, which typically depend on the area and the teeth being extracted. The most common forceps are universal (No.150 upper and No.151 lower), anterior (No.88 and No.79), premolar (No.150A upper), and molar forceps (No.150S upper and No.151 lower). Forceps for wisdom teeth (No.74N, No.18L, and No.18R) have beaks angled at 55 degrees to extract impacted third molars in the lower and upper jaws. In addition, there are root tip forceps (No.65 or No.301 Apical Picks) to remove broken root tips and small pediatric forceps for extracting children’s teeth.
Dental elevators and luxators are used to gently loosen the tooth in the alveolus before extracting it with forceps. Straight elevator No. 301 is considered to be one of the most commonly used instruments in dental practice. In addition to straight elevators, there are also Cryer, Potts, and Crane elevators, which are primarily used to extract impacted teeth. For example, Potts and Crane elevators are angled at 55 degrees and are mainly used to extract the roots of molar teeth. Finally, an apical elevator is a thin and flexible elevator with a curved working end, which is mainly used to extract broken root tips. Coupland’s elevator set consists of three straight elevators with chisel-shaped working ends of varying widths; they are primarily used to widen the alveolus.
Luxators are similar to straight elevators but are much thinner and sharper to cut the periodontal ligament. Most luxators belong to the H-shaped type or S-shaped type. A H-shaped luxator is used to widen the alveolus by rocking the luxator up and down, while an S-shaped luxator is used to cut the periodontal ligament.
Periosteal elevators are primarily used in surgical extractions to gently separate the mucosa from the underlying bone. Most commonly, they are used to reflect a flap of mucosa during a surgical procedure. Periosteal elevators have a blunt and pointed end to lift the flap of the gum with minimal tissue trauma. West periosteal elevator, Molt No.9 periosteal elevator, and Freer elevator are the three most common types of periosteal elevators.
A scalpel is used to make precise incisions in the gum during a surgical extraction of a tooth. The most commonly used size of a scalpel is a No.3 handle with a No.15 blade.
Retractors are primarily used to hold the flap of the gum or cheek during a tooth extraction procedure. In most cases, Minnesota or Austin retractors are used in oral surgery because they have a double ended and bent design, allowing them to hold soft tissues firmly. Weider retractors can also be used to retract the tongue and cheek during the procedure of extracting a lower tooth.
The most commonly used suction and hemostasis instruments include a suction tip and hemostatic forceps (pliers). They are primarily used to suction the oral fluid from the surgical site and control the bleeding during a tooth extraction procedure.
Lucas bone curette or Molt curette and bone rongeur are commonly used to curette the bony socket after a tooth has been extracted. In case of a surgical extraction, it may be necessary to remove some of the bony growths with a bone rongeur or orthopaedic bone file.
Needle holders (e.g., Castroviejo) and tissue forceps (e.g., Adson and College forceps) are primarily used with suture materials to close the incision in the gum.
In summary, different types of instruments have specific applications during a tooth extraction procedure. For example, elevators and luxators are typically used to loosen the tooth, while forceps are primarily used to extract the tooth. Curettes and rasps are used to curette the alveolus of debris and bony growths after a tooth has been removed. Scalpels, retractors, and suction tips are used to make an incision and provide access to the alveolus during a surgical procedure. Finally, suturing instruments are used to close the incision in the gum at the end of the procedure.
Each type of instrument has many applications in a procedure for extracting a tooth.
Dental Mirrors/Explorers/Probes
These basic instruments are used to conduct an initial examination of the oral cavity and assess the condition of the tooth to be extracted.
The anesthetic syringe is used by the dentist to inject a local anesthetic into the oral cavity to numb the area around the tooth to be extracted. By removing the sensation, the dentist can ensure that the patient will not feel any pain during the procedure.
The dentist uses elevators immediately after administering the local anaesthetic to loosen the tooth in the alveolus so that it can be extracted with forceps. The most commonly used elevator is Straight elevator No.301, which is used to widen the alveolus by rocking it from one side to the other (apical, buccal, lingual, and rotational rocking). Another common method is to use a luxator to scrape the periodontal ligament along the long axis of the tooth to remove it from the alveolus. Finally, a Cryer elevator can be used to widen the alveolus by rocking it buccolingually from under the tooth root. Therefore, each method requires rocking or pivoting the elevator to widen the alveolus and separate the tooth root from the alveolar bone.
Cryer elevators are used primarily to remove the tooth roots, including broken root tips. For example, if the patient has a missing mesial root of a molar tooth, a Cryer elevator can be inserted under the distal root apex to pivot the distal root and widen the alveolus. Therefore, the application of a Cryer elevator is appropriate when a single tooth root is present or to widen the alveolus during the extraction of multi rooted teeth with broken root tips or wedged roots.
Once the tooth has been loosened with an elevator, the dentist will use dental forceps to extract it. The forceps have a box lock and specially shaped beaks to grip the tooth. For single rooted teeth (e.g., incisors, canines, and some premolars), the dentist needs to apply a rocking motion with the forceps to widen the alveolus and remove the tooth from the alveolus. To extract multi rooted teeth, however, the dentist needs to apply pressure with the forceps to widen the alveolus and pivot the tooth out of the socket. For example, to extract upper molars, the dentist can use cowhorn forceps (e.g., American pattern forceps) with beaks, which are pointed inward to hook the furcations of the molar roots. The dentist then applies pressure with the forceps and moves them in a rotational motion to remove the tooth from the alveolus.
After the tooth has been extracted, the dentist needs to curette the alveolus to remove blood clots and tissue debris with a curette (e.g., a Lucas bone curette). The dentist can also use gauze sponges to control the bleeding and help the blood clot fill the empty alveolus.
To extract impacted teeth, the dentist may need to make an incision in the gum with a scalpel to create a flap. Subsequently, a periosteal elevator is used to lift the flap to expose the alveolus containing the impacted tooth. For example, a Molt No.9 periosteal elevator can be used to reflect the flap of the gum. Finally, a retractor (e.g., Austin retractor) can be used to hold the flap and cheek open to provide better access to the alveolus.
To remove bony growths during a surgical extraction of a tooth, the dentist can use various bony instruments, including a high speed handpiece, carbide or diamond burs, and orthopaedic bone forceps. For example, a high-speed handpiece can be used to remove a portion of the alveolar bone to extract an impacted tooth. In addition, orthopaedic bone forceps can be used to remove bony growths and the impacted tooth. The dentist can also use a bone rongeur to remove any bony spicules growing out of the alveolus.
To close the flap of the gum after a surgical extraction of a tooth, the dentist needs to use a suture kit. For example, a needle holder and fine surgical scissors are used with the suture material to close the incision in the gum. The tissue forceps (e.g., Adson/College forceps) are used to hold the tissue while the suture material is being tied.
If a root of the tooth has been broken, it can be removed with a root tip pick (apical elevator) or fine hemostats. In the case of a child, the dentist will use smaller forceps (e.g., pediatric forceps No.150S/151S) and smaller elevators and retractors designed for children’s teeth. In conclusion, each instrument has various applications in different stages of the tooth extraction procedure.
When selecting dental instruments for tooth extraction, it is essential to consider their quality, convenience, and appropriateness for the procedure.
Most dental instruments are made of surgical stainless steel (e.g., 316 or 420 stainless steel). According to the experts at DentMedHub, “precision surgical instruments crafted from quality German stainless steel ensure outstanding performance and years of reliable service.” In addition, it is essential to pay attention to the instruments’ design and ergonomics. For example, forceps and elevators with a textured surface provide a better grip and reduce the risk of slipping. In addition, dental elevators and forceps with a light hollow handle reduce hand fatigue, allowing the dentist to work longer without being tired. Finally, to achieve the best value for money, a dental practitioner should consider buying a complete set of dental instruments.
DentMedHub offers a wide range of tooth extraction instruments to meet the needs of every dental practitioner. Below are some of the most popular categories and products:
A set of universal extraction forceps (API/Waldent No.150/# 151) can be used to extract most of the front and back teeth. They are convenient to use and have a box lock mechanism and serrated beaks to provide a firm grip on the tooth.
It is always a good idea to have a set of molar and wisdom tooth forceps (e.g., API No.65, 74N, or No.23 for lower molars). They are ideal for extracting impacted third molars. For children’s extractions, it is necessary to have a set of pediatric forceps.
A complete set of elevators (e.g., an Osung or GerDent elevator kit) would allow the dentist to extract almost any type of tooth by simply rocking the elevator to widen the alveolus. An elevator set typically contains a straight elevator No.301, left and right Cryers, and S-shaped luxators.
A periosteal elevator (e.g., Molt No.9 periosteal elevator) is primarily used to reflect a gum flap during the procedure. A West periosteal elevator is also a great option since it has both a sharp and a blunt end.
DentMedHub has a collection of complete and convenient extraction sets (Mirror, Explorer, Elevator, Forceps, Curette). For example, one set contains a mouth mirror, an explorer, a periodontal probe, two forceps (e.g., No.88, and No.150), one elevator (e.g., straight elevator No.301), and one curette. In addition, a set for surgical extraction also contains a scalpel, periosteal elevator, retractor, and a suture kit.
A set of bone instruments (e.g., No.3 Lingual and No.4 Mitchell) can be used to curette, rasp, or file the alveolar bone.
All products at DentMedHub are from reputable manufacturers, so you can be confident that we carry only high quality medical instruments. Whether you need a few forceps or a complete set of tooth extraction instruments, you will find everything you need at DentMedHub.
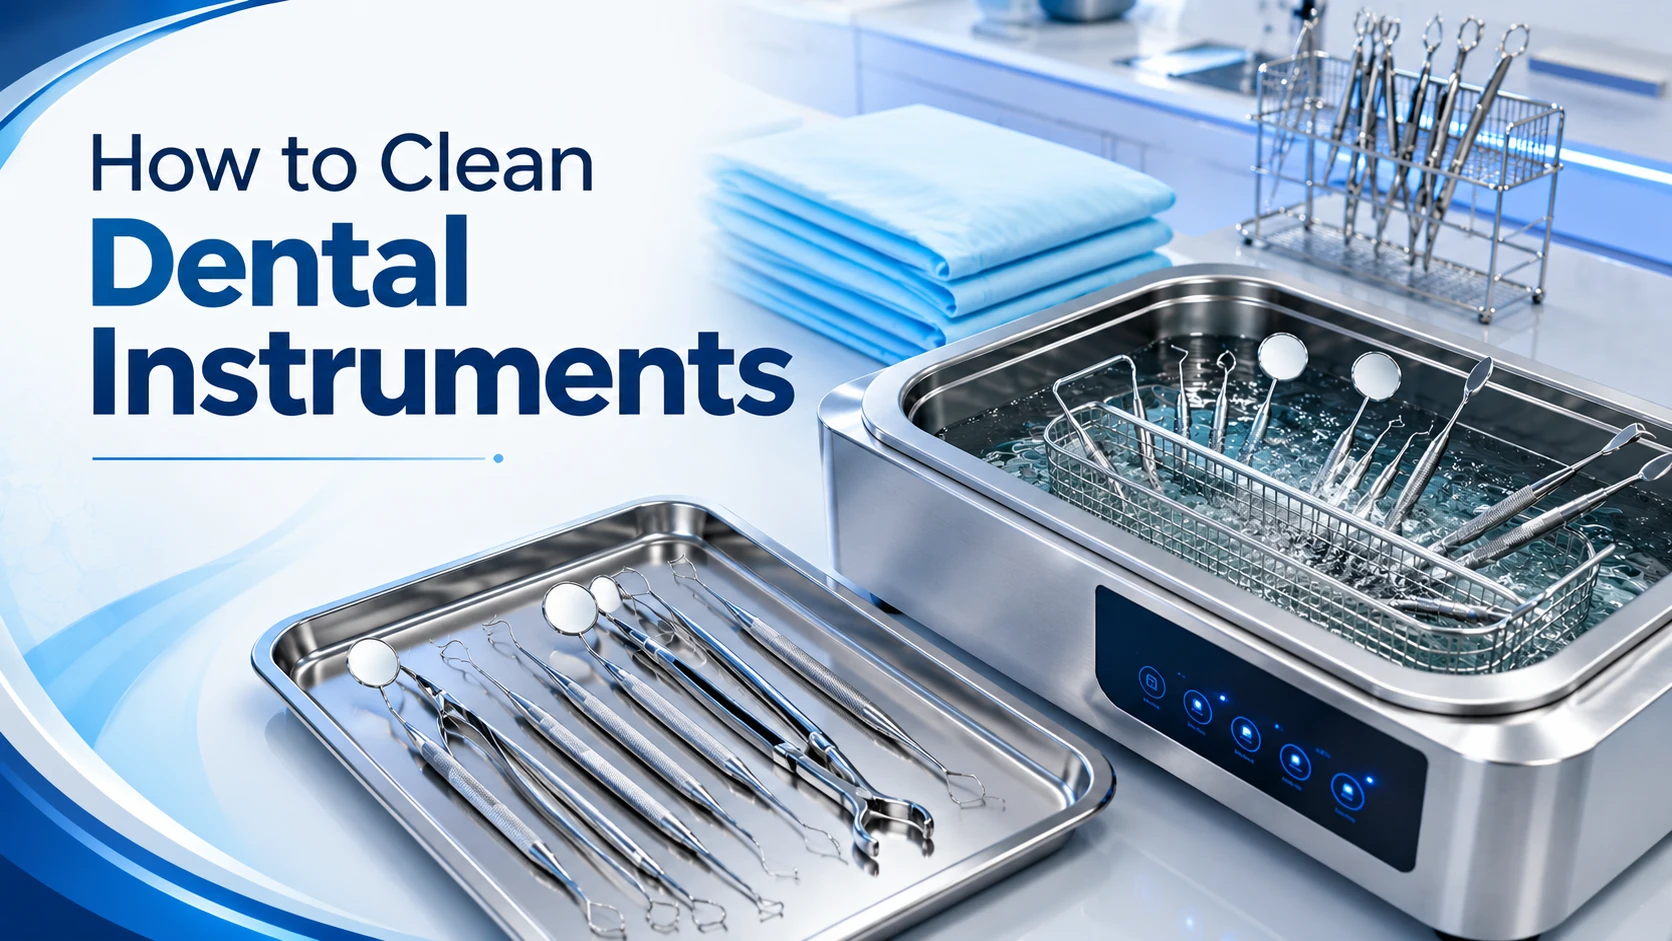
To ensure the safe use of these instruments, it is essential to clean and sterilize them after each procedure. Below are some general recommendations on how to clean, sterilize, and maintain tooth extraction instruments:
1. Cleaning: It is necessary to thoroughly clean the instrument after each use to remove any blood and tissue residue. For optimal cleaning, it is recommended to use an ultrasonic cleaner to remove any residue from the box joints and serrated edges. According to OxyMed, “Clean all instruments immediately after use in running water and remove any visible deposits of tissue or blood. Ultrasonic cleaning before sterilization also assists in removing debris and oils from the instrument’s surface.”
2. Sterilization: All instruments must be sterilized after each patient by using an autoclave. According to the standard sterilization protocol, “Instruments were autoclaved at 134°C for 3–4 min (pre-vacuum mode) or 121°C for 15 min (gravity displacement mode).” Pintech agrees that “instruments were steam sterilized at 134°C for 4 minutes or 121°C for 15 minutes.” When autoclaving, it is essential to ensure that the box lock of the forceps is opened to allow sterilization steam to penetrate.
3. Sharpening: It is necessary to keep the cutting edges of elevators, luxators, and curettes sharp to ensure optimal performance and reduce the risk of causing unnecessary trauma to the patient. If the cutting edges of an instrument become dull, it should be taken to a qualified professional to sharpen it. In addition, it is a good idea to use an instrument lubricant (“Instrument Milk”) to lubricate the box locks of forceps and prevent debris from getting stuck there.
4. Inspection: Before using any instrument, it is essential to inspect it for defects, including a deformed box lock of the forceps or a chipped working edge of elevators. It is also important to check that the working edges of the instruments are not worn out since dull instruments cause more tissue trauma than sharp ones.
5. Proper Handling: To prolong the life of an instrument, it should only be used for its intended purpose. For example, a retractor should only be used to hold back the tissue and not to cut it. In addition, an instrument should not be dropped on a hard surface or used to pry off a crown since it will damage the instrument and reduce its working life.
6. Following the Instructions: The manufacturer’s instructions for use of the instruments should be followed.
By following the above recommendations, the dentist will be able to prolong the working life of the instruments and ensure the safety of their patients. For example, according to the OxyMed guidelines, “dull edges require more pressure and cause increased trauma to the tissue; therefore, instruments should be kept sharp.”
Even the most experienced medical professionals can make mistakes extracting teeth if they use incorrect tools or methodology. Some of the most frequent errors include but are not limited to the following mistakes:
Forcing makes you extract teeth improperly or breaks them. For example, a clinical guide indicates that you should not jerk the forceps (such as when you are trying to remove a tooth) since it will damage the periodontium, bone, and adjacent teeth. Besides, improper force application can lead to fractures or soft tissue injuries. To avoid this error, you should always luxate the tooth using an elevator.
Most dental practitioners mistake grabbing a tooth with the wrong pair of forceps during extraction. For instance, using universal forceps for ankylosed molar or an elevator that is too big for the tooth results in a failed procedure. Alternatively, you may fail to luxate a tooth with the wrong elevator tool, making it impossible for forceps to grab it. The correct procedure is to use a luxator and elevator suitable for the shape of the tooth. Likewise, pick up forceps appropriate for the particular tooth you need to extract. If you are unsure about the tool to use, double check your options.
Failing to conduct a radiographic examination before extraction can lead to multiple errors, such as extracting the wrong tooth or damaging adjacent structures in the oral cavity. Therefore, before extracting a tooth, determine the root’s number and shape, its position concerning the vital tissues, and whether it is calcified or not. For example, a dental blog by the Georgian Dental states that “inadequate assessment” and “not understanding the root morphology” are some of the most common mistakes in tooth extraction. Understanding the root morphology will also help you determine what instrument to use during the procedure.
One of the most common mistakes that prevent smooth extractions is not sectioning the multi rooted tooth before extraction. This error is especially prevalent when removing the maxillary molar. For instance, you may expect to extract the multi rooted molar in one piece when in reality, each root should be extracted individually. Such a mistake occurs because people forget that multi rooted teeth should be sectioned into smaller parts before removal. The easiest way to do it is to use a bur or chisel. Hence, do not forget to section a multi rooted tooth if one of the roots is fractured during the procedure.
According to the previous mistake, using a blunt elevator or forceps blade can lead to tissue trauma. In most cases, such an error occurs when medical workers do not regularly hone their instruments. A clinical guide notes that a dull instrument cuts or tears the tissues instead of making a precise incision. Another example of improper maintenance is using a periosteal elevator to raise a flap. If you use such an elevator excessively, its edges will start shredding the flap instead of raising it.
An inadequate flap design and rough reflection can cause tissue trauma. As a result, you can expect a patient to develop a hematoma or experience severe post-operative discomfort. For example, biting the plastic mirror or cheek during the procedure can lead to such complications. Therefore, always use a sharp scalpel and gently reflect the flap.
After extracting a tooth, always check the socket to determine whether any root tip or other tissues are left. For instance, if you do not check the socket, you may end up with dry sockets or bone spicules, preventing proper healing. Use curettes and retractors to remove the unwanted tissues.
Sometimes, medical practitioners fail to control bleeding adequately during the healing process, creating the perfect conditions for dry sockets. For example, if you pack the socket improperly or overlook the bleeding point, the patient will be anemic and uncomfortable.
Being aware of these mistakes and double checking every step of the procedure can help you avoid them. It is also necessary to maintain your instruments properly and study the best practices in tooth extraction. For example, according to StatPearls Patient Care Guide , when using an elevator, apply pressure on the bone and not on the adjacent tooth to prevent tissue trauma. Besides, the tool’s size should also be suitable for the space available. Hence, with the right knowledge and quality instruments, you can extract teeth without making any errors.
Q. What are the most common instruments used in tooth extraction?
A: The primary tools in tooth extraction are dental elevators and extraction forceps. The other essential instruments include a mouth mirror and explorer, anesthetic syringe, periosteal elevator, scalpel (with #15 blade), needle holder and suture, curettes, and retractors. For instance, StatPearls Patient Care Guide lists extraction forceps, dental elevators, periosteal elevators, scalpels (No.15 blade), surgical scissors, needle holders, hemostats, bone curettes, and irrigation syringes as the most common instruments used during the procedure. At minimum, every tooth extraction involves elevators and forceps.
Q. What is the difference between a dental elevator and extraction forceps?
A: An elevator and forceps play a different role in extraction, but both are essential. Elevators are lever-shaped instruments that help luxate a tooth or widen the socket when extracting the tooth. You apply pressure on the tooth surface using these tools and lift the periodontal ligament. Meanwhile, forceps resemble a pair of scissors with beaked ends designed to grip the tooth crown or root. The dental practitioner removes the tooth from the alveolar socket by twisting the forceps and exerting pressure. Hence, elevators and forceps assist in luxating and removing the tooth during extraction.
Q. How many types of dental extraction forceps are there?
A: There are dozens of the instruments listed below. Each tool is designed for the specific area or type of teeth, such as anterior, posterior, molar, or impacted. For example, the most common tools include: 150 (upper universal), 151 (lower universal), 88L/88R (upper), 17 (lower), and pediatric forceps. In total, over 20 types of dental forceps help remove deciduous and permanent teeth in adults and children. Apart from these tools, extraction kits include #65 and #301 forceps for root tips, and #74N for wisdom teeth extraction. The dentist should choose the instruments based on the targeted teeth, which determines their shape, size, and working end.
Q. What instrument is used to remove broken roots or other fragments?
A: The dental tool that removes broken roots or other tooth fragments is called a root tip pick. It also goes by such names as root tip elevator, apical pick, and root fragment pick. A root tip pick’s thin, tapered, and sharp end allows the practitioner to access and extract the broken root from the socket. Sometimes, the dentist can also use mini forceps (root tip forceps) to remove the broken root tip or other fragment if it is big enough. But a root tip pick is necessary if the broken area is small.
Q. What is the luxator used for in dentistry?
A: A luxator is a slender elevator with a sharp edge that usually has a blunt or pointed end. The tool separates the tooth from the alveolar socket by separating the periodontal membrane. Hence, a luxator’s role during the procedure is to cut the periodontal ligament and gradually widen the socket so that the dentist can extract the tooth with minimal damage to the surrounding tissues. Unlike traditional elevators that use a wedge, luxators use a blade to sever the ligament, and they are inserted directly on the root. You can use it, for example, when preparing the extraction site for an implant, and you want to remove the periodontal membrane. Depending on the task, you can choose between a curved and straight luxator. Moreover, these instruments are commonly used during impacted wisdom tooth extraction.
Q. What is a periosteal elevator used for?
A: A periosteal elevator lifts the gingiva and periosteum from the underlying bone. In other words, it reflects the gum flap during surgical extraction and makes the tooth root and alveolar bone accessible. For example, after cutting the gum with a scalpel, you can use a periosteal elevator (such as a Molt No.9 and West elevator) to separate the gum and periosteum from the bone. This instrument also comes in a double-ended variant (Molt periosteal elevator) that has a pointed end and a blunt end. The West elevator, in turn, has a sharp tip and is suitable for delicate procedures.
Q. How should you clean and sterilize tooth extraction instruments?
A: After using the instruments, it is critical to rinse or soak them. Then, place them in an ultrasonic cleaner to remove any remaining dirt from joints. Finally, pack and autoclave them. Following the standard sterilization protocol is mandatory, and one of the most common procedures is autoclaving at 134 degrees C for 3-4 minutes (for prevacuum autoclaves) or 121 degrees C for 15-30 minutes (for gravity displacement autoclaves). You can now use the instrument after you have ensured that it is dry. Apart from cleaning and sterilization, it is also vital to inspect the tools to confirm their quality and functionality.
Q. What are the uses of a bone rongeur in tooth extraction?
A: A bone rongeur is a plier-like instrument with a cup-shaped end that has a sharp edge. There are several types of this tool, and all of them are designed to shave and remove unwanted bone fragments and edges. For example, a dental practitioner will use a bone rongeur to cut and remove sharp, bony projections from the alveolar ridge after extracting an impacted tooth. Such irregularities need to be eliminated since they impede the normal healing of the extraction site. Moreover, a bone rongeur is often used during denture and implant surgery.
Q. What instruments are needed for an impacted wisdom tooth extraction?
A: If a wisdom tooth is impacted, you cannot extract it using standard surgical tools. Instead, you need an entire set of instruments for wisdom tooth extraction, which includes but is not limited to the following tools:
These instruments allow the practitioner to cut the patient’s cheek (using a scalpel) and retract it (with cheek retractors), remove the bone with a handpiece and file, extract the tooth with forceps and elevators, irrigate the surgical site (with an irrigation syringe), and suture the incision (using suture scissors, material, and needle holder).
Removing a tooth is a complicated procedure requiring the dentist to use an array of tools. The primary instruments involve elevators and forceps, while the others include exam instruments, anesthetic syringe, scalpel, retractors, and other tools necessary for a surgical procedure. A successful and comfortable extraction depends on the dentist’s ability to choose high quality instruments and use them properly. Another critical factor is proper maintenance of the tools, which includes regular cleaning and honing. If you are a practicing dentist looking to acquire the necessary equipment or upgrade your current set, DentMedHub offers an extensive range of forceps, elevators, and complete extraction kits for simple and surgical extractions.
You need to Sign in to view this feature
This address will be removed from this list